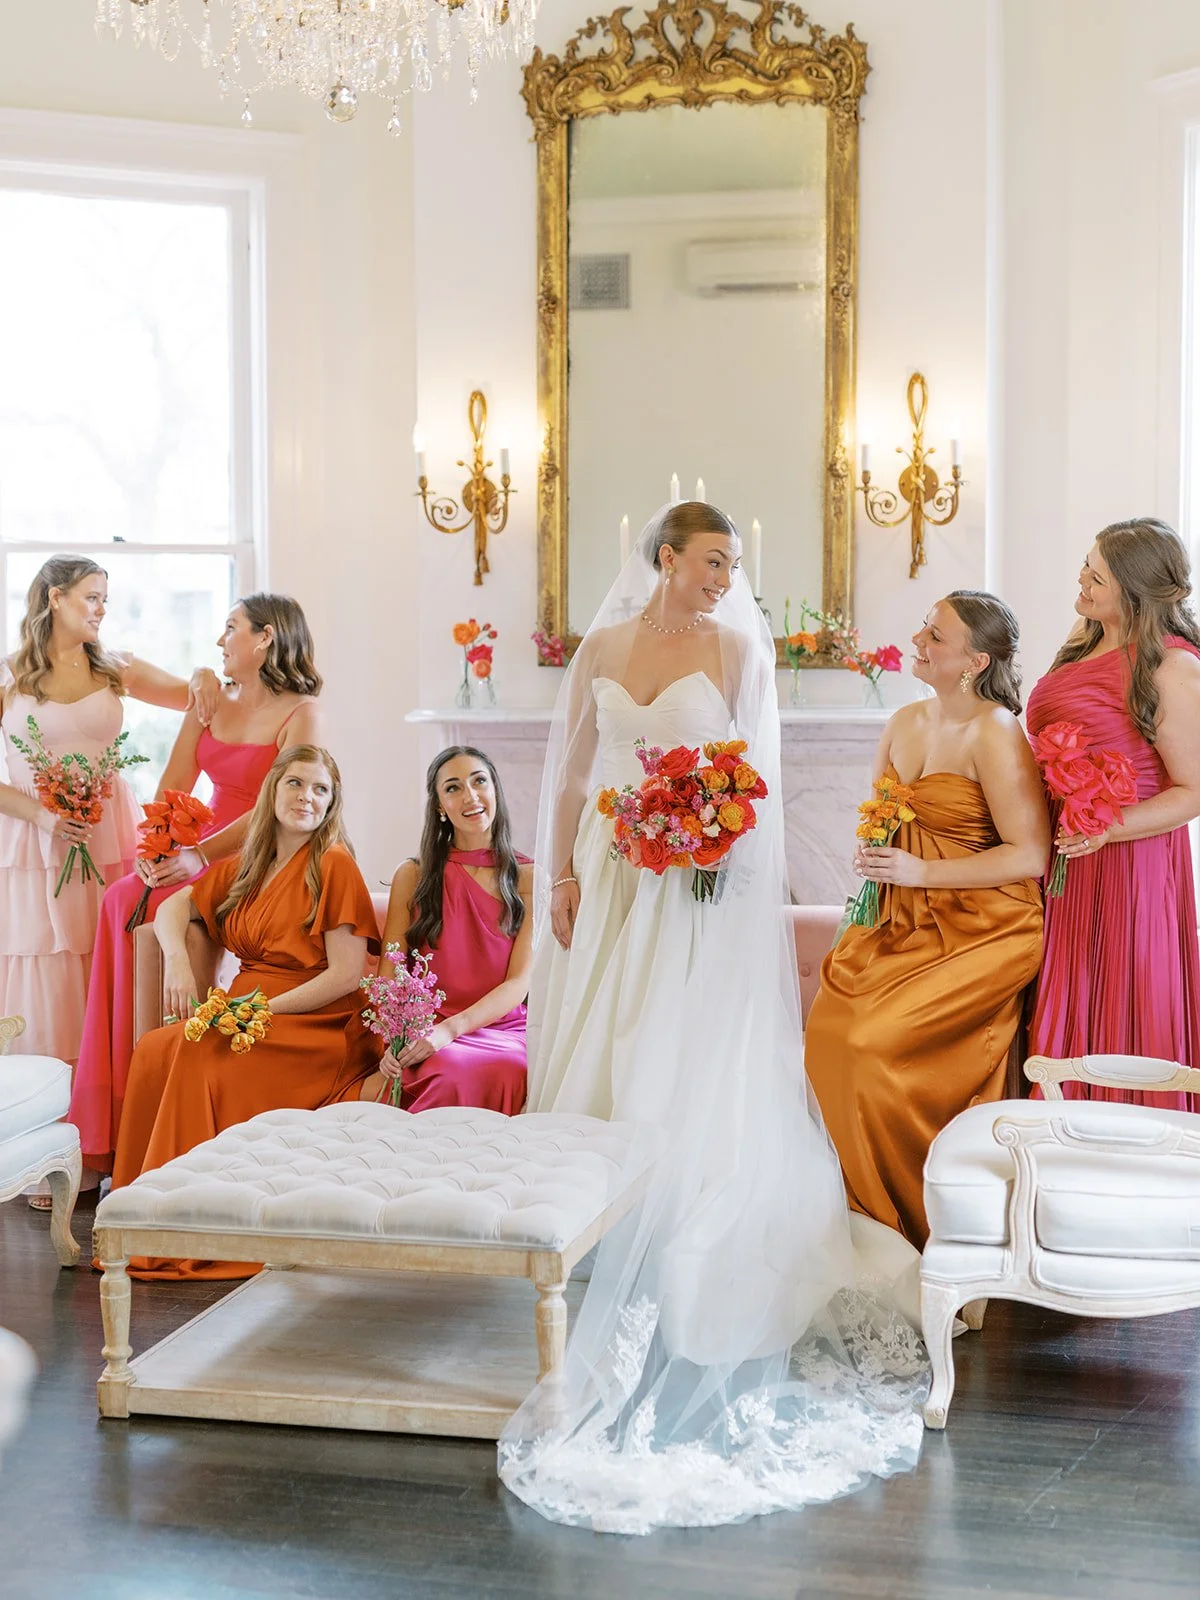
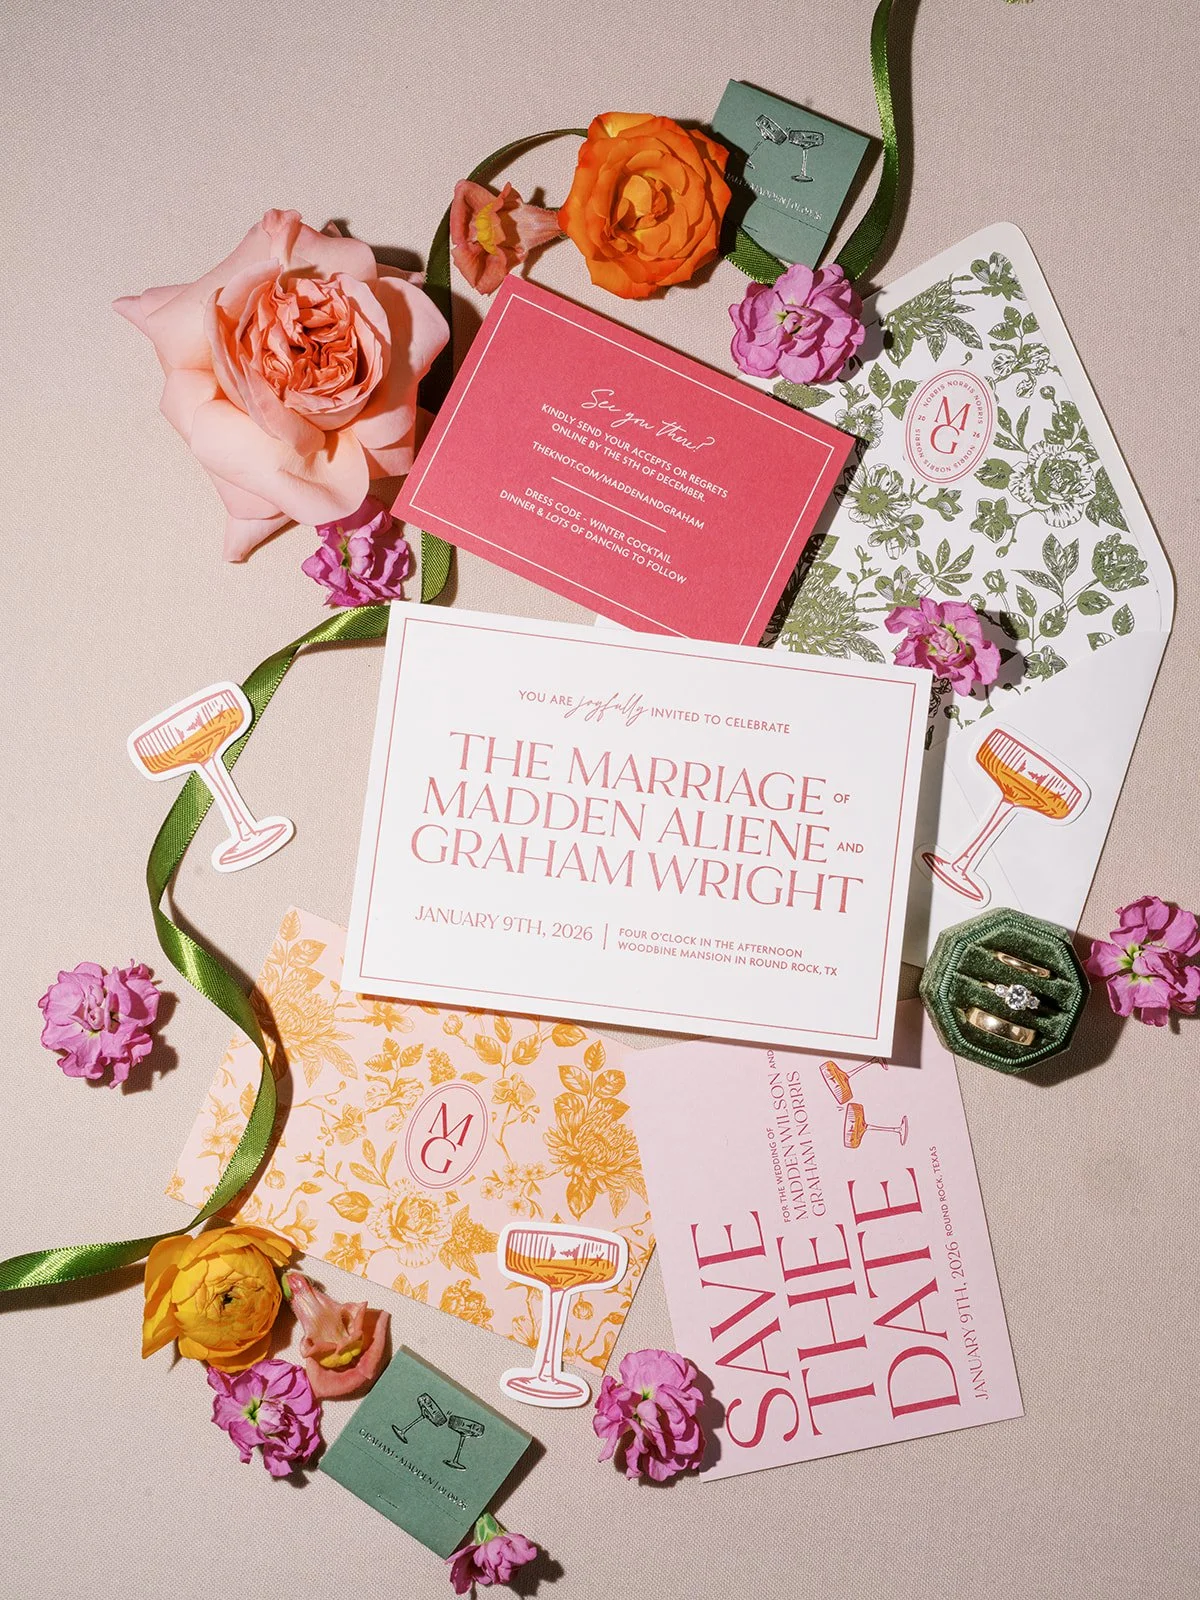
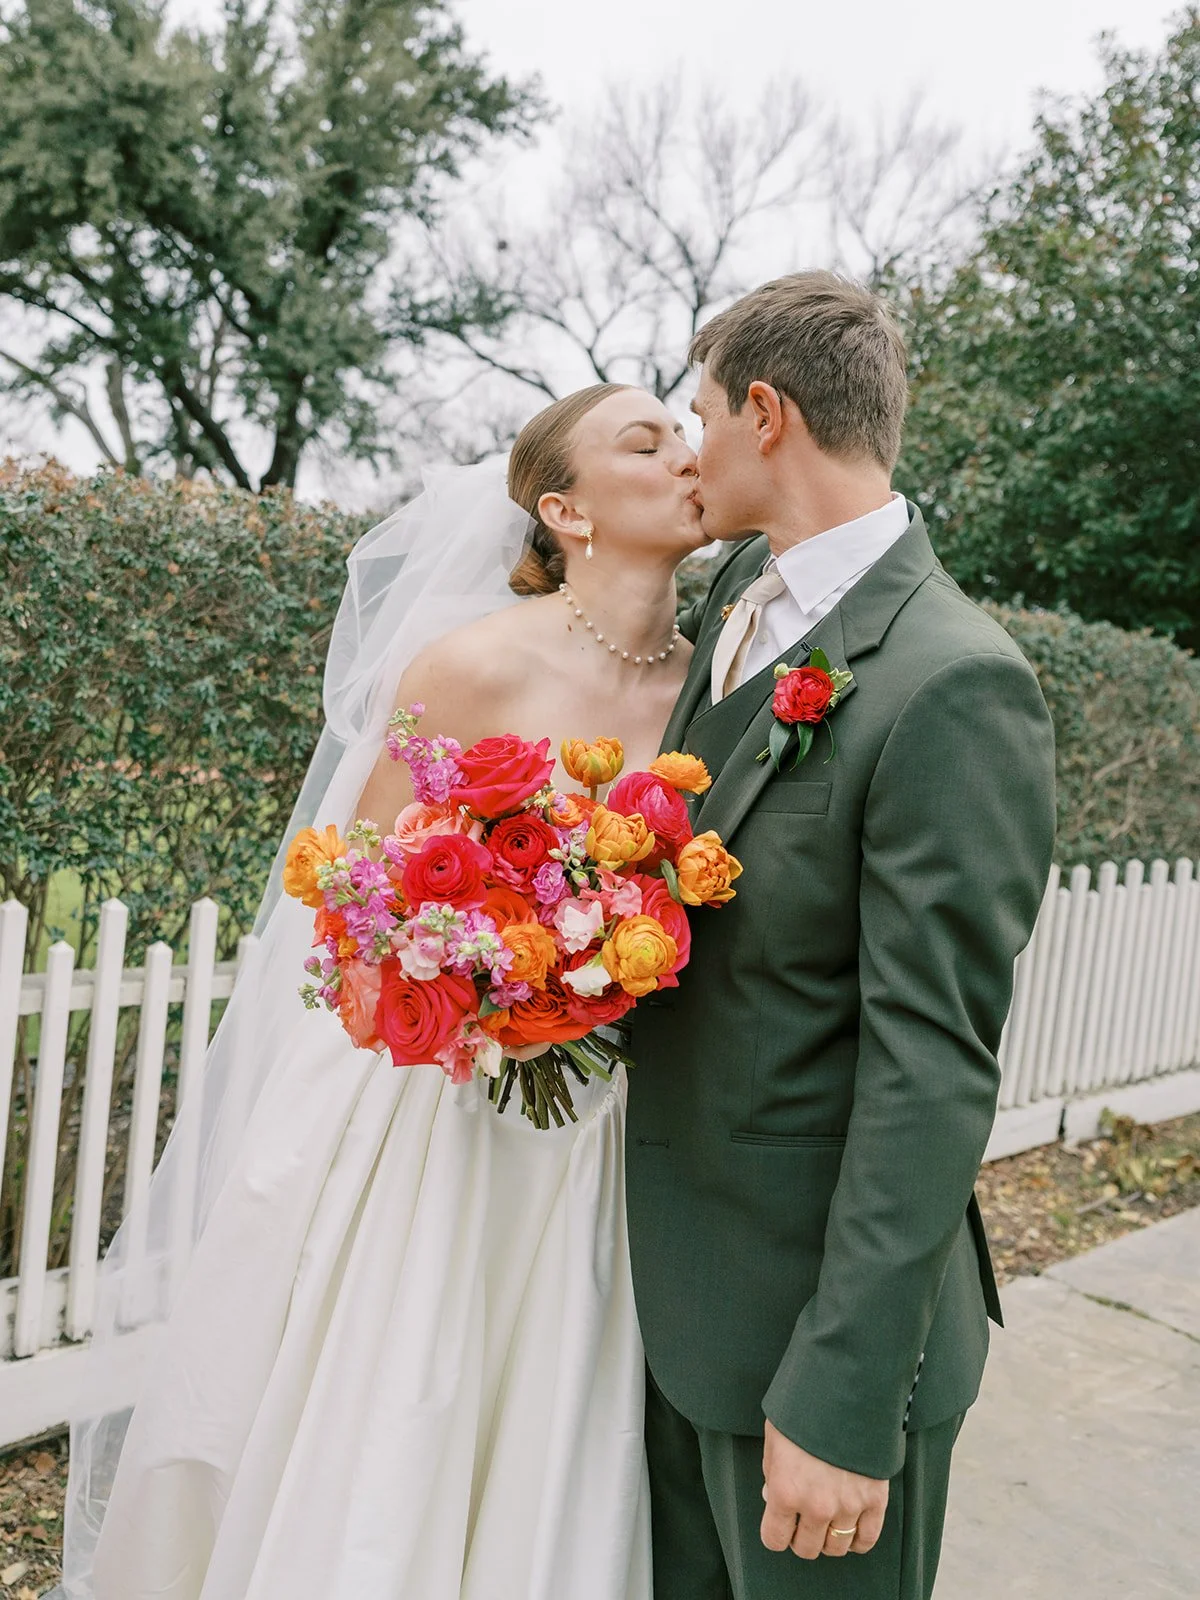
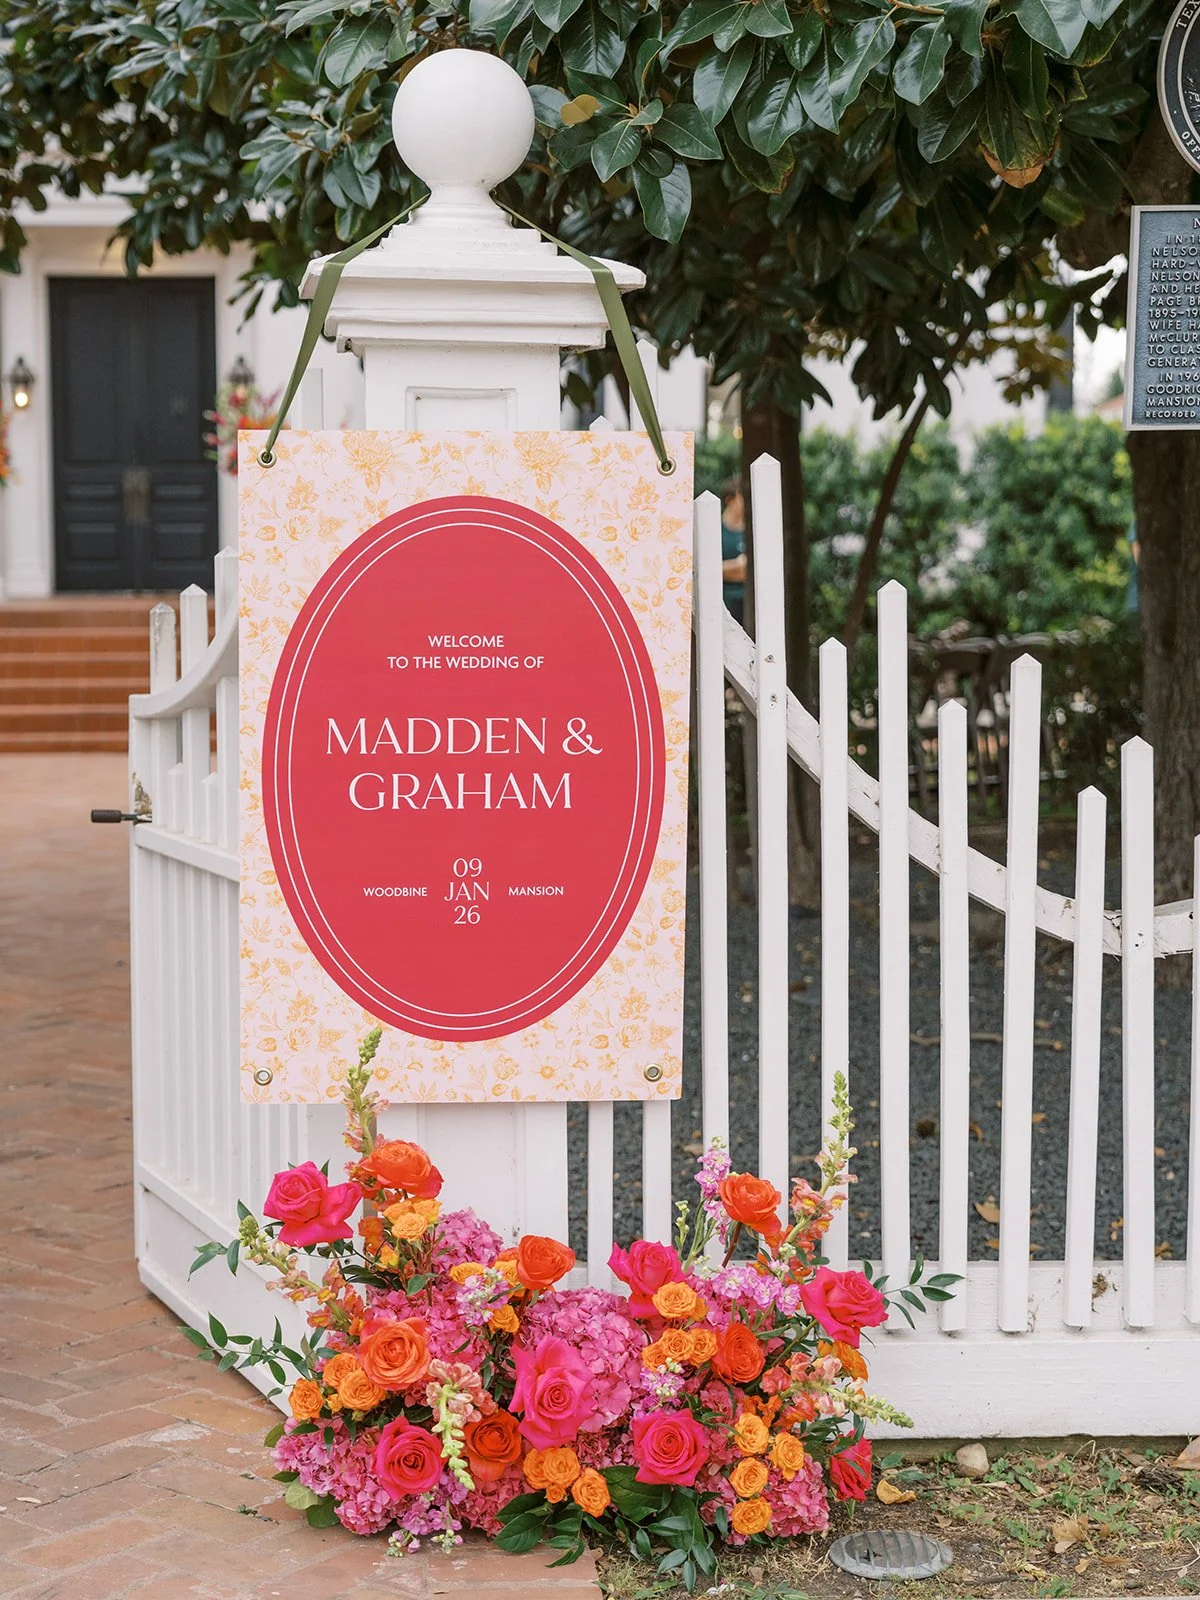
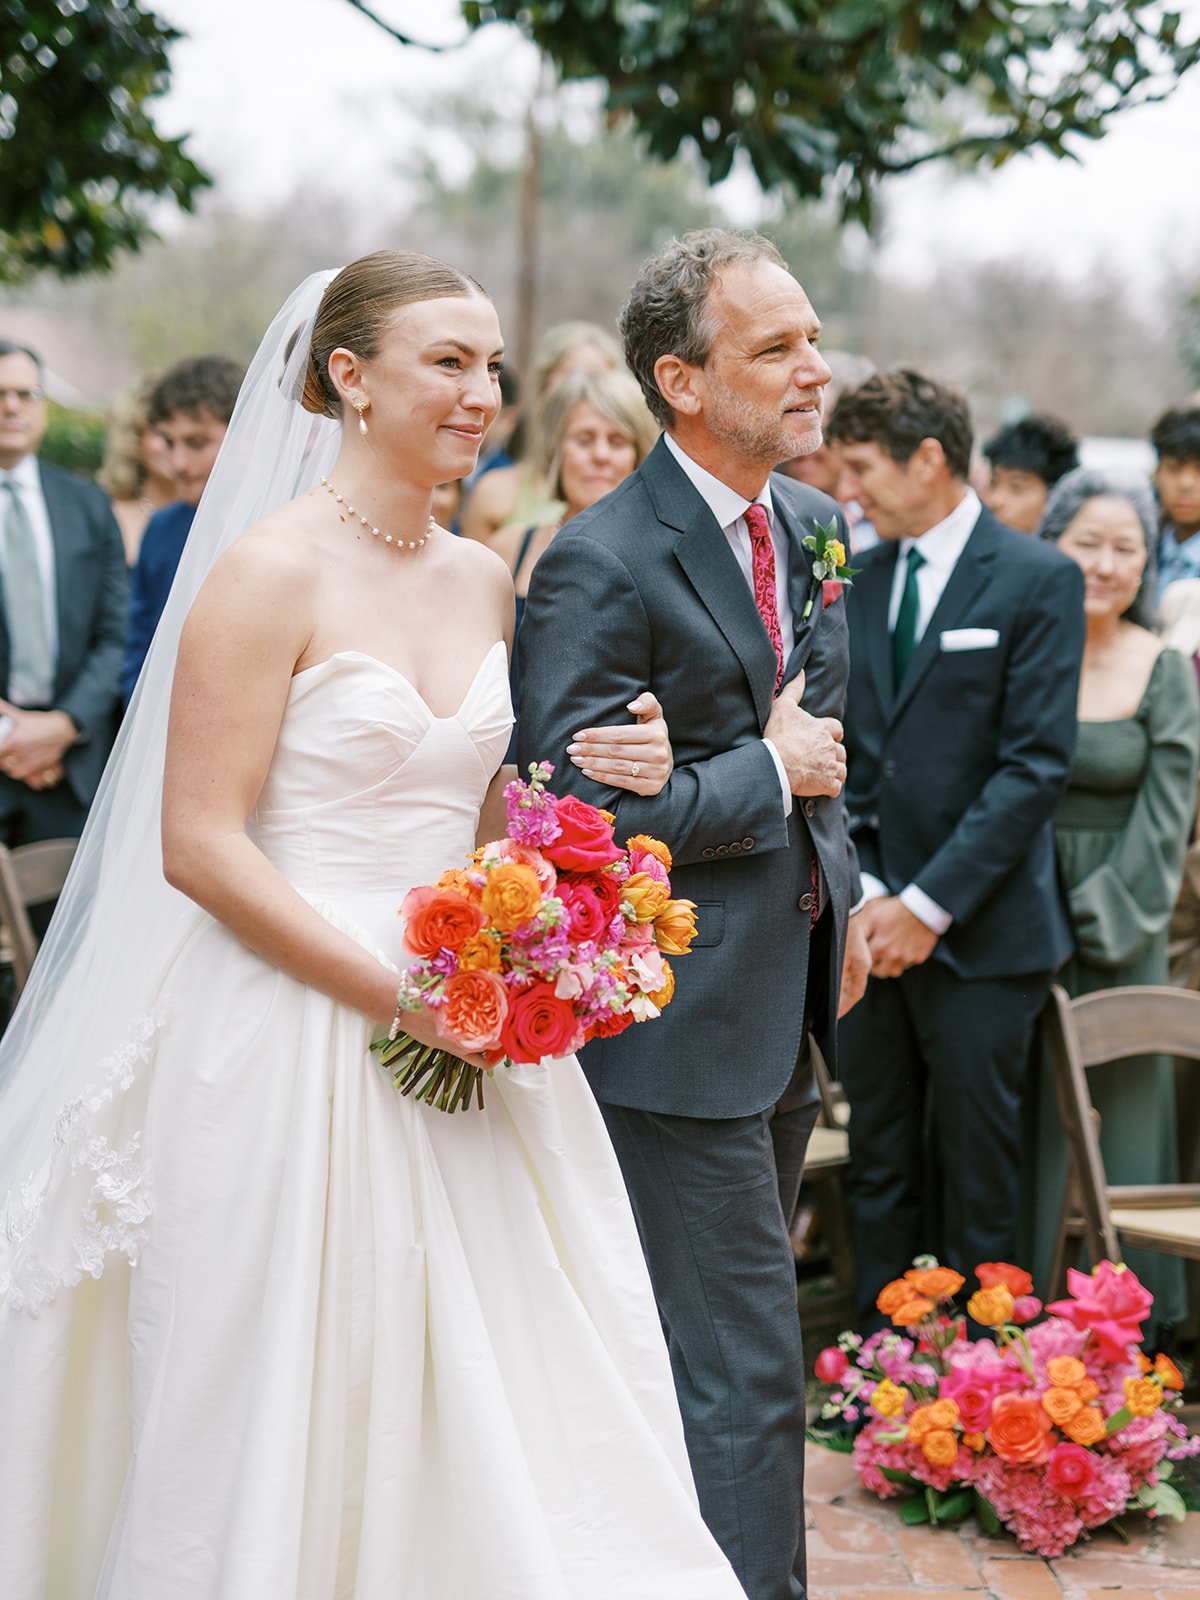
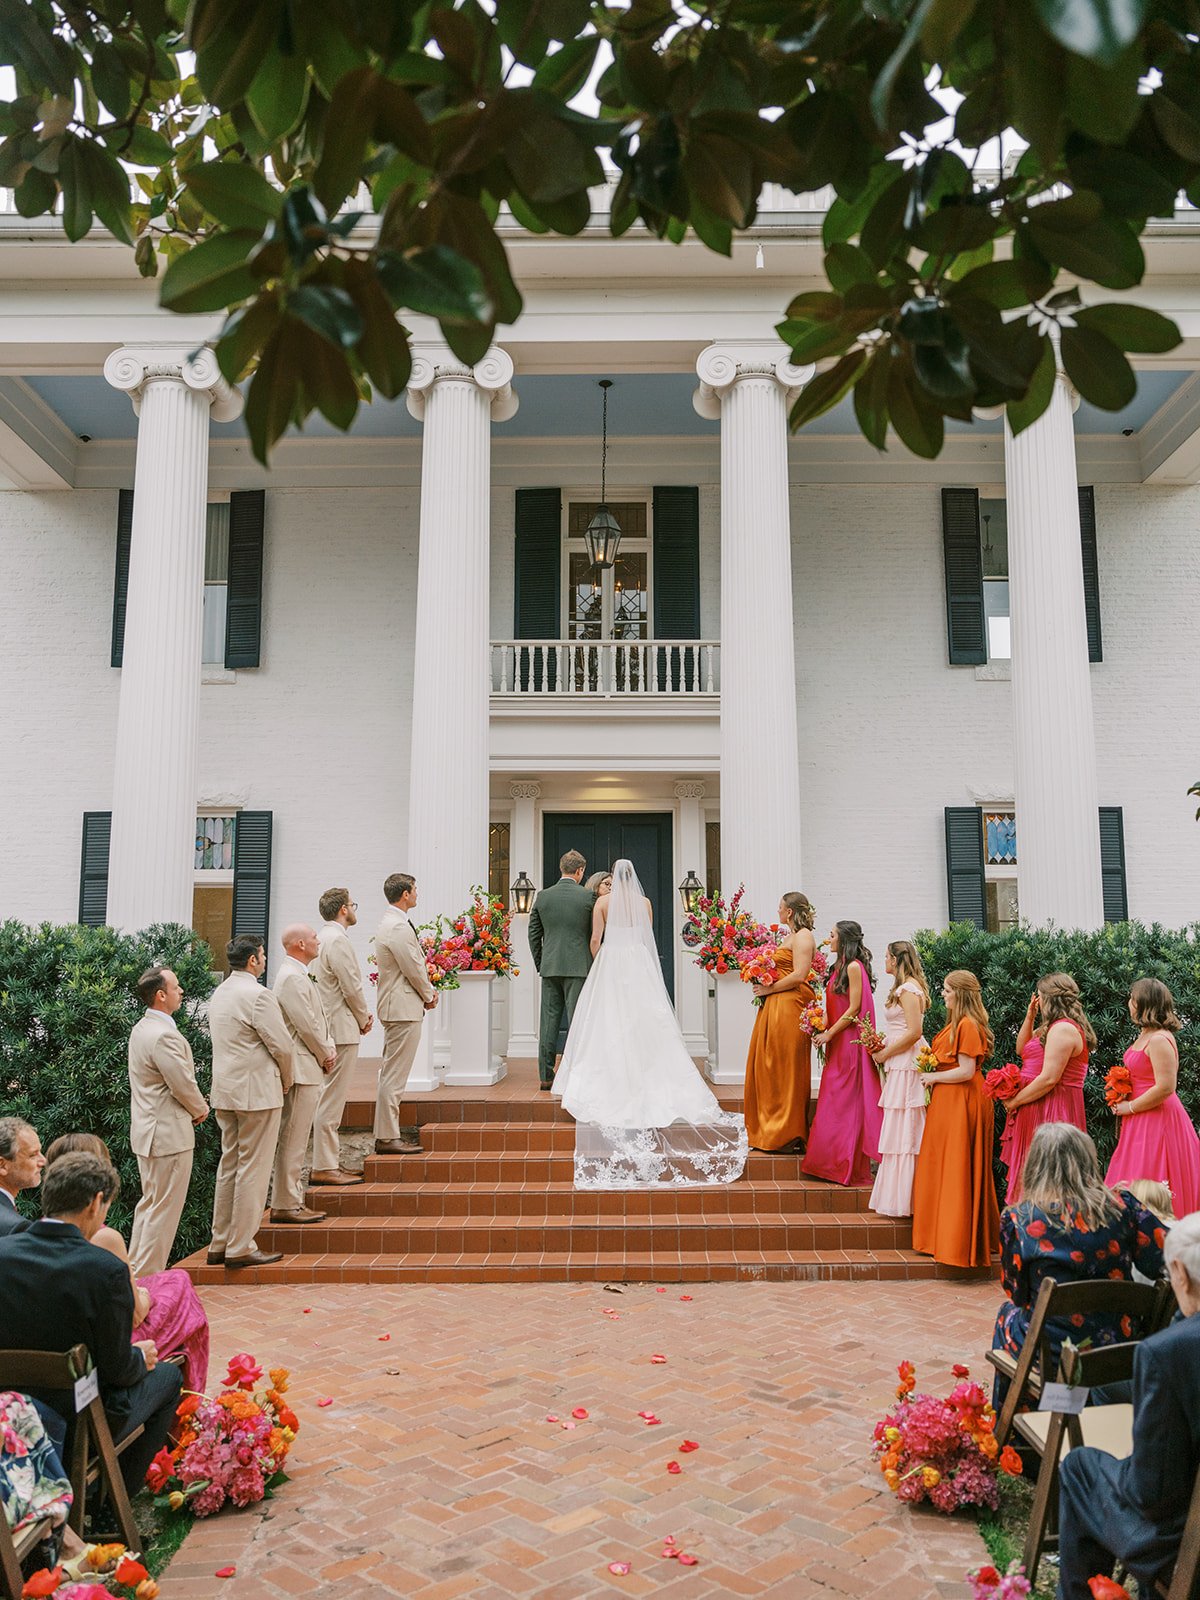
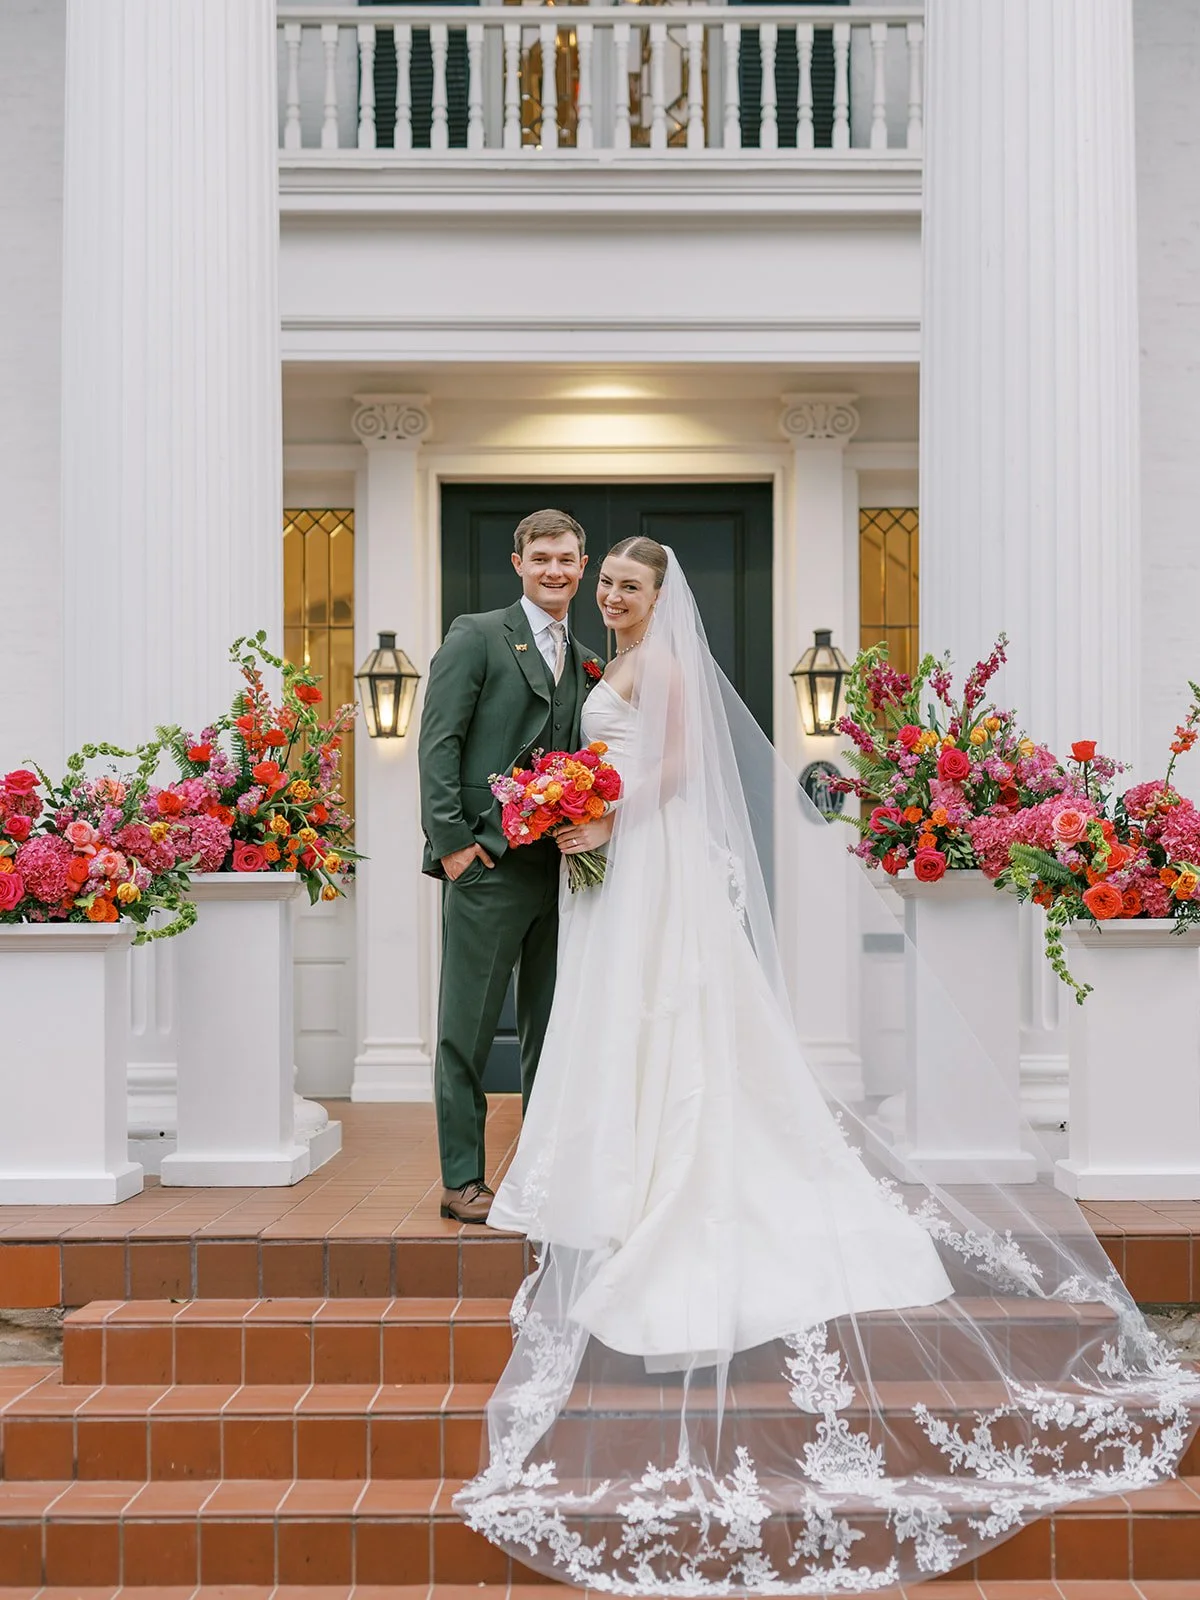
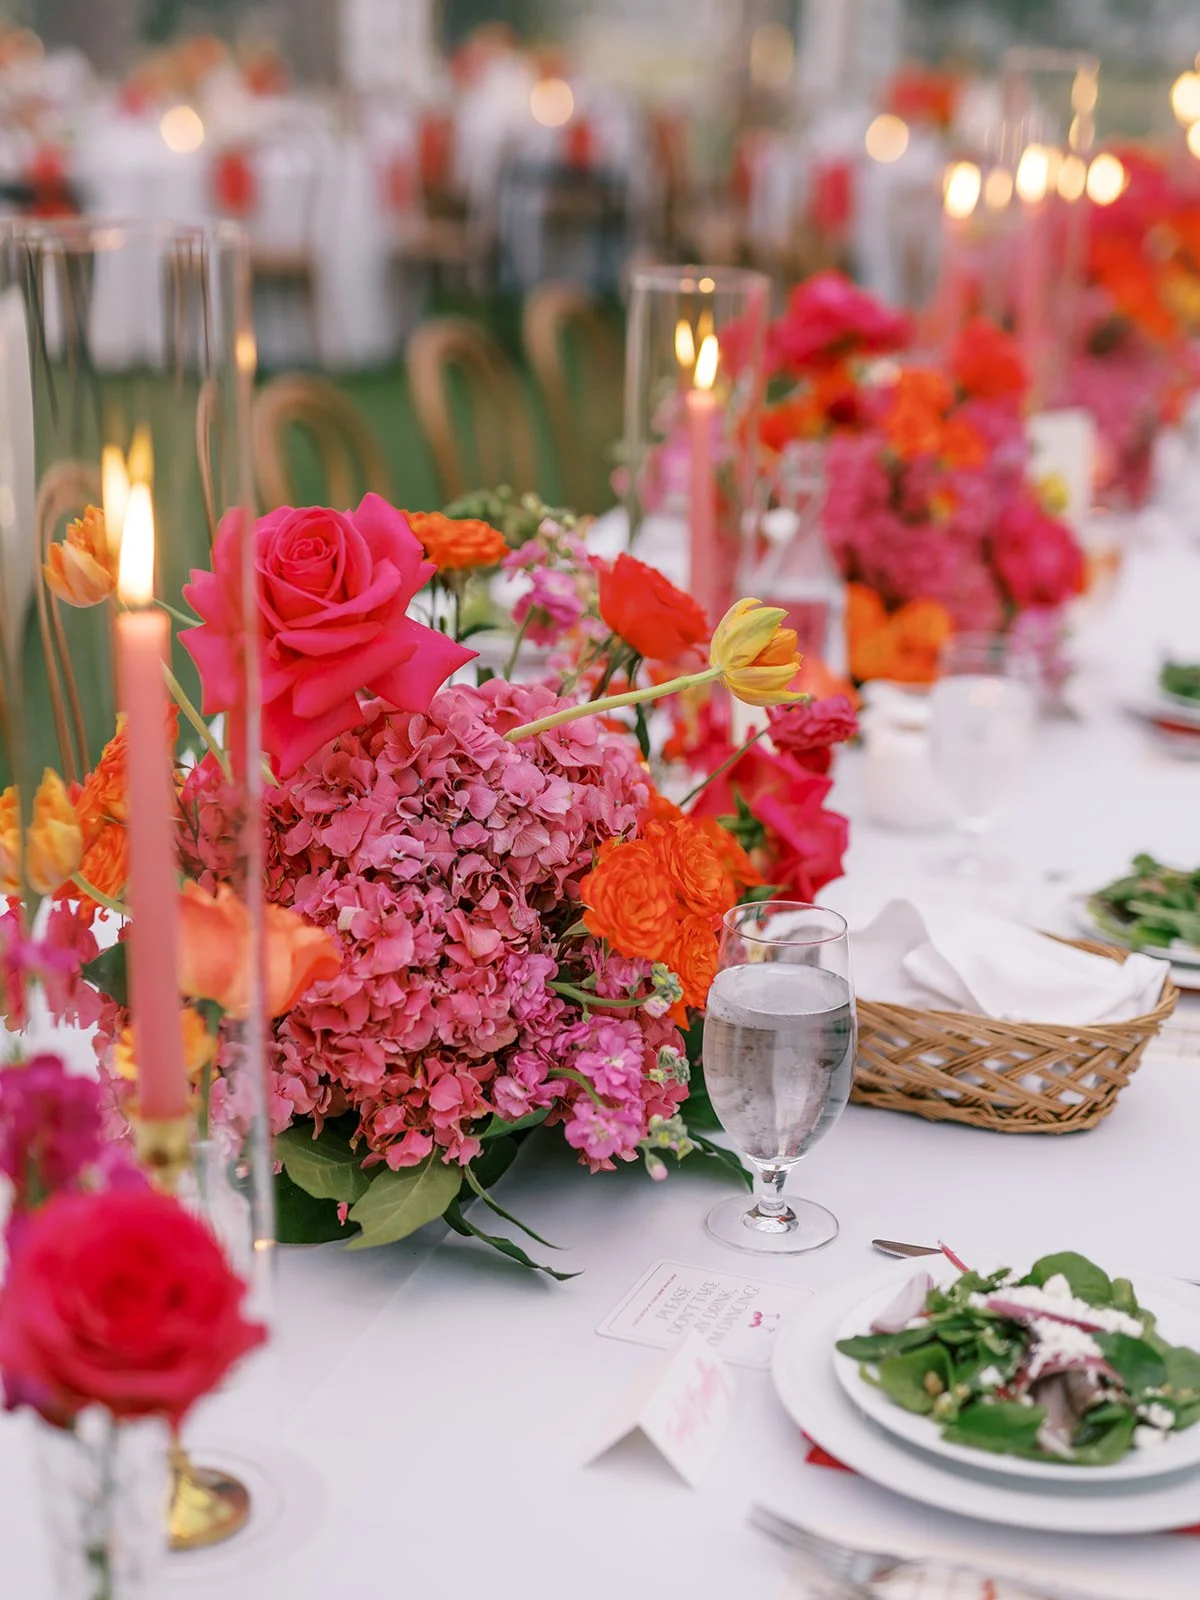
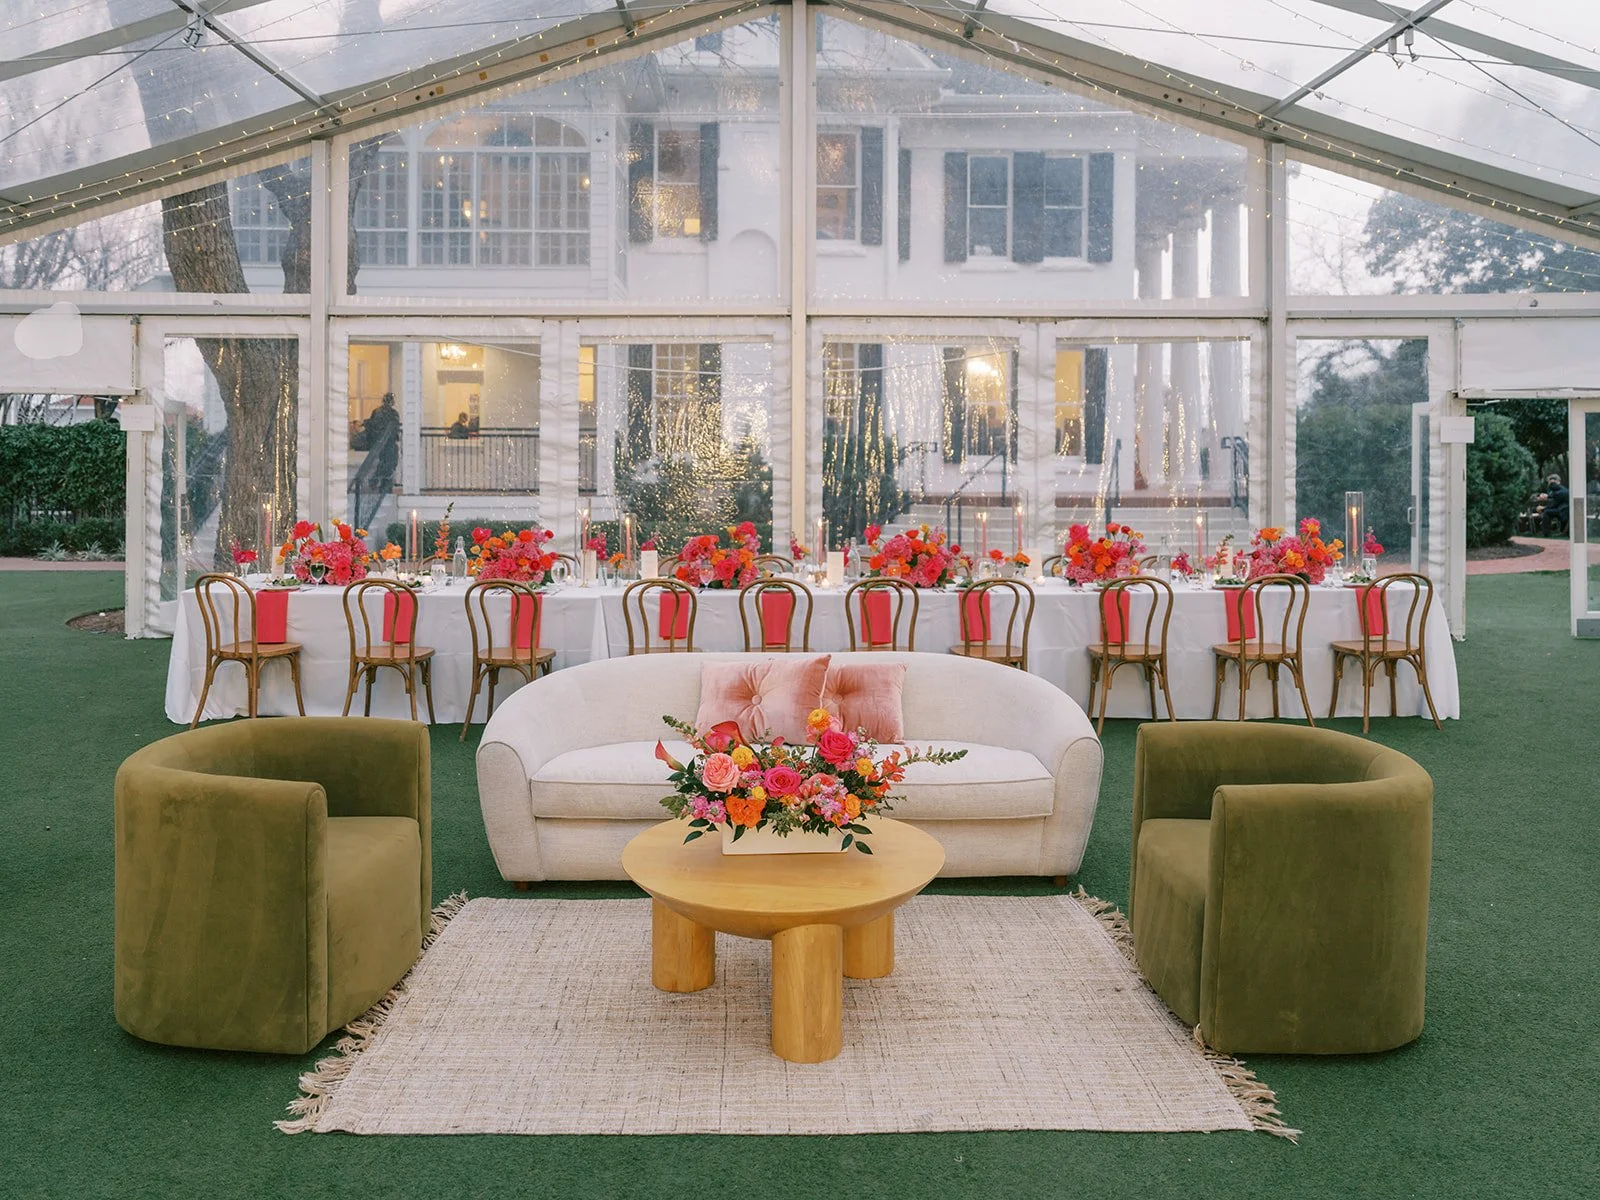
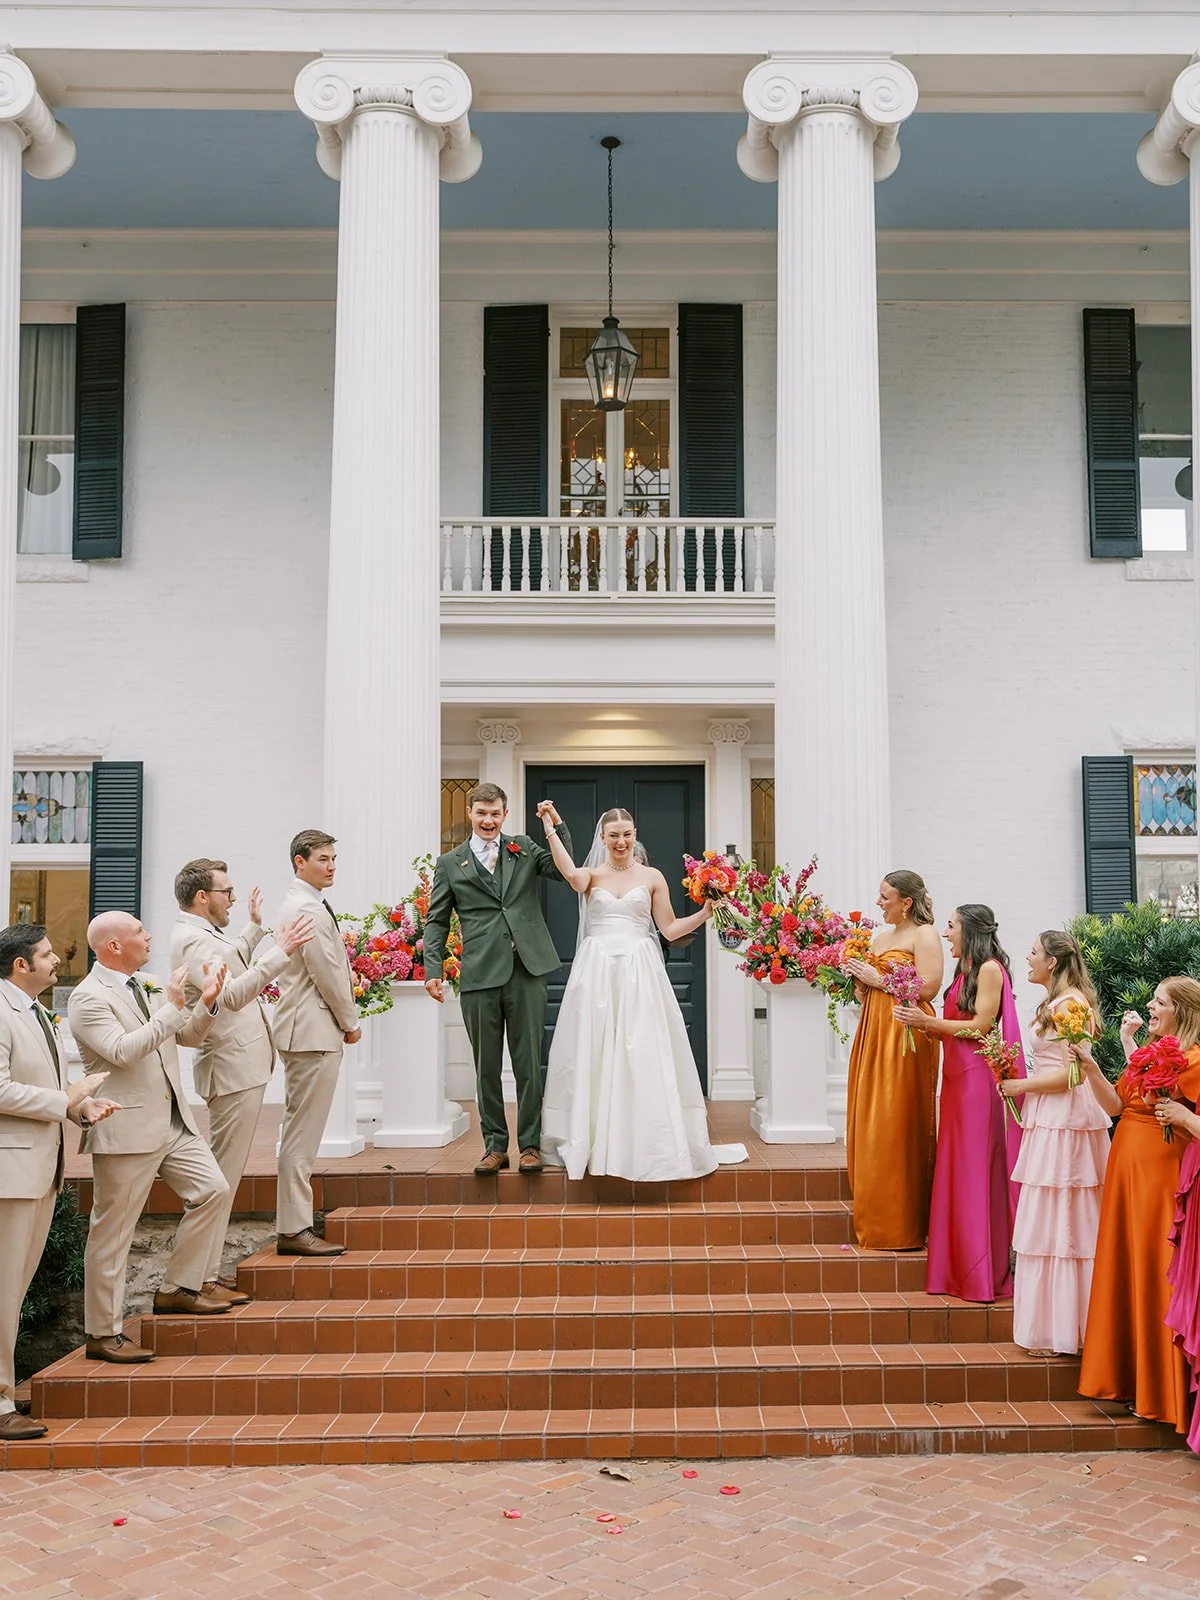
GRAHAM & MADDENPhotographer: Ruet Photo / @ruetphoto View fullsize View fullsize View fullsize View fullsize View fullsize View fullsize View fullsize View fullsize View fullsize View fullsize View fullsize View fullsize